5 Reasons not to become a software engineer
The brutal truth about software engineering: constant learning, ruthless job markets, and burnout rates that should scare you. Still think coding is your path to the good life?
The brutal truth about software engineering: constant learning, ruthless job markets, and burnout rates that should scare you. Still think coding is your path to the good life?
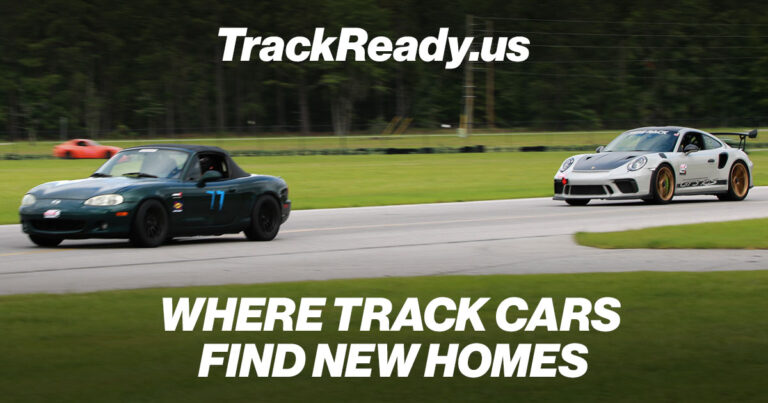
Besides coding, I also tinker with cars. More specifically I love racing cars. Over the years I saw many change hands over random Facebook marketplace groups and niche forums. I decided to make something better: a simple marketplace for buying and selling track-prepped cars. The new marketplace will only feature…
Since I started using LLM chatbots, my enthusiasm for them has been a bit of a rollercoaster. At times, they feel like they slow me down. Other times, I stumble on a prompting approach that unlocks something more powerful than I can achieve with traditional “old school” software. Lately, I’ve…
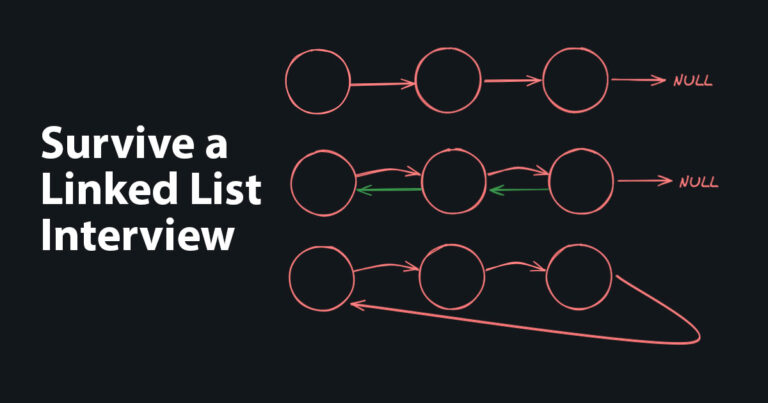
If you’re prepping for technical interviews and feel a bit rusty on linked lists, this post is for you. I’ll cover just enough to help you survive common interview questions. We will not go into too much detail. What is a linked list? A linked list is a linear data…
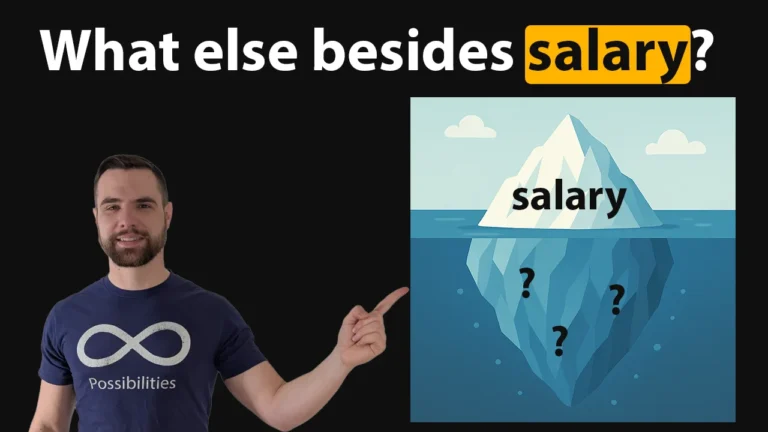
Salary Is Just the Tip of the Iceberg Salary matters, no doubt about it. But when it comes to long-term happiness and success as a software engineer, it’s only the beginning. And sometimes, salary is completely non-negotiable (especially if it’s your first job out of college in 2025). So… what…
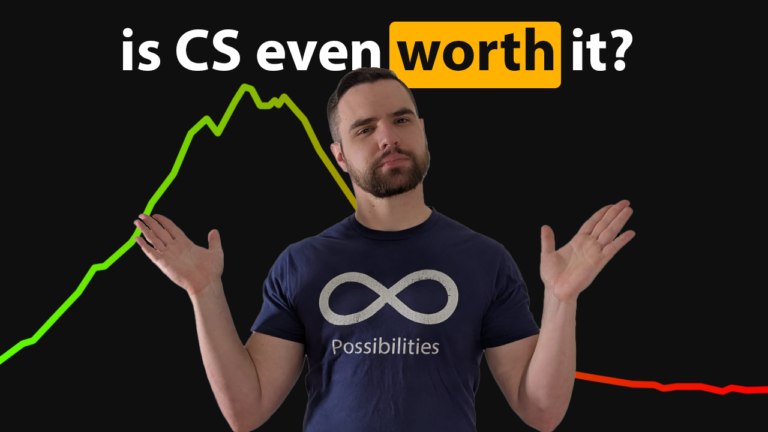
My video response to this Reddit post addresses a high school senior’s concerns about majoring in Computer Science amidst current job market uncertainties and AI advancements:
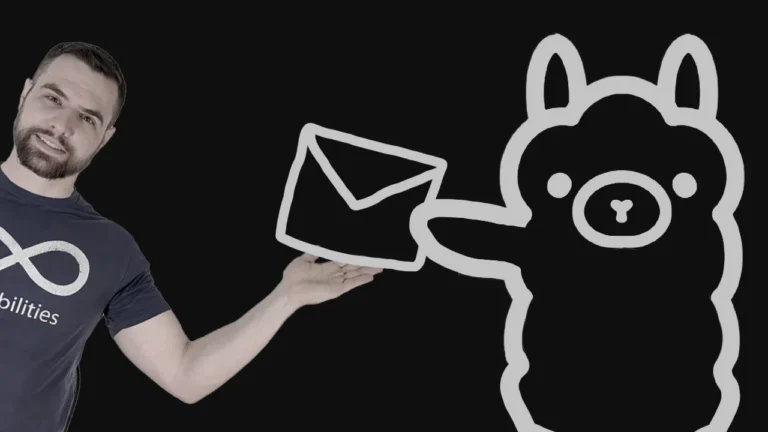
I built a prototype to see if it is a good idea. Despite feeling outdated, email remains one of the most enduring and essential communication channels. Almost 4.48 billion users worldwide sent over 361 billion messages daily in 2024 alone. Yet, while our inboxes teem with activity, the experience is…
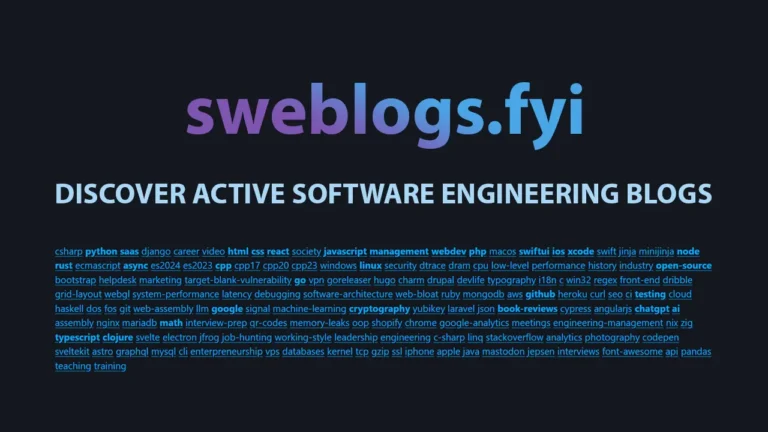
Since my last update in January, I’ve made several notable changes to the Software Engineering Blogs Directory project. This is a recap of what’s new: 🔍 Tag cloud search You can now search for specific tags using a search bar, making it easier to find blogs on topics that interest…
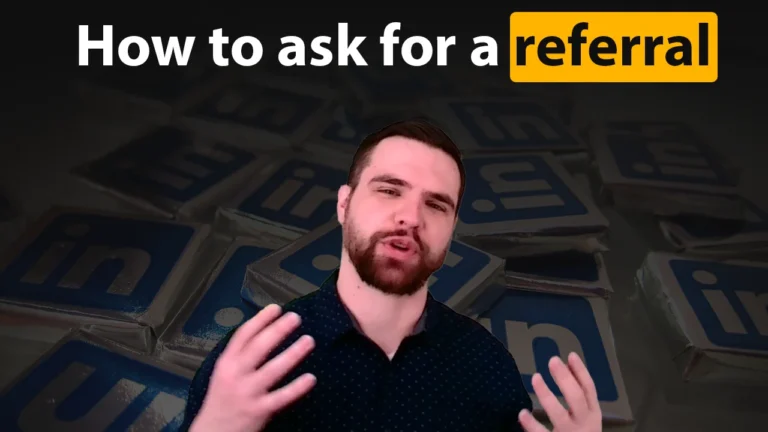
How do you ask for a referral without overstepping? Let's break down how to craft the perfect referral request, avoid common mistakes, and even turn casual LinkedIn connections into genuine networking opportunities. Whether you're a student or a seasoned professional, this post will help you stand out and make it easy for others to say, "Yes, I'll refer you."

In 2024 I started a Software Engineering Blog Directory to enable easier discovery of active software engineering blogs. Although some directories with similar content already exist, they are never up-to-date and feature many stale blogs. Additionally they are difficult, if not impossible, to contribute to. The most popular of these…